
The bottom paint had been eroded by water.

After I bought the boat, I opened up the crack to fix it. I used the grinder and dug in until I got to the end of the cracked material. Then I drilled into the hull. Water came pouring out, couple of gallons. Then I drilled holes lower in the crack and finally after a few more test holes, I found the lowest point water comes out of . This will allow the rest to dry out when I am ready to patch it. There is a big void in the hull in this area below the prop shaft tube. I may fill this in with thickened epoxy later.


Another problem I found was in the bow. The holding tank had been left full one winter and when the material expanded, it cracked the fiberglass tank. This had been repaired but seemed to be leaking. In any case, when you looked down in the bilge, there seemed to be sewage down there. It was smelly and the whole boat had a bad odor.
 |
| Notice the air freshener! |
Time to dig in! I donned a respirator and dug out the material. To my surprise, there was no waste product. It was a slim layer of fiberglass which was long ago cracked by the cold winter temperatures around Lake Michigan. Under that layer was a gravel and dirt combination fit for the bottom of a swamp!

I used the shop vac to pull the stuff out of the bilge both in the bow and under the holding tank. That adventure will be another blog entry. I also go some big chunks of fiberglass.

This fiberglass was poured over the concrete in the keel in the building process. It became obvious that the resin used never adhered to either the concrete or the fiberglass of the hull. The all came out with my hands, a paint scraper, and the shop vac.

This was really shoddy workmanship. I have heard different family's worked at different stages in the manufacturing process. I have found that the workmanship that was not visible was very poor.

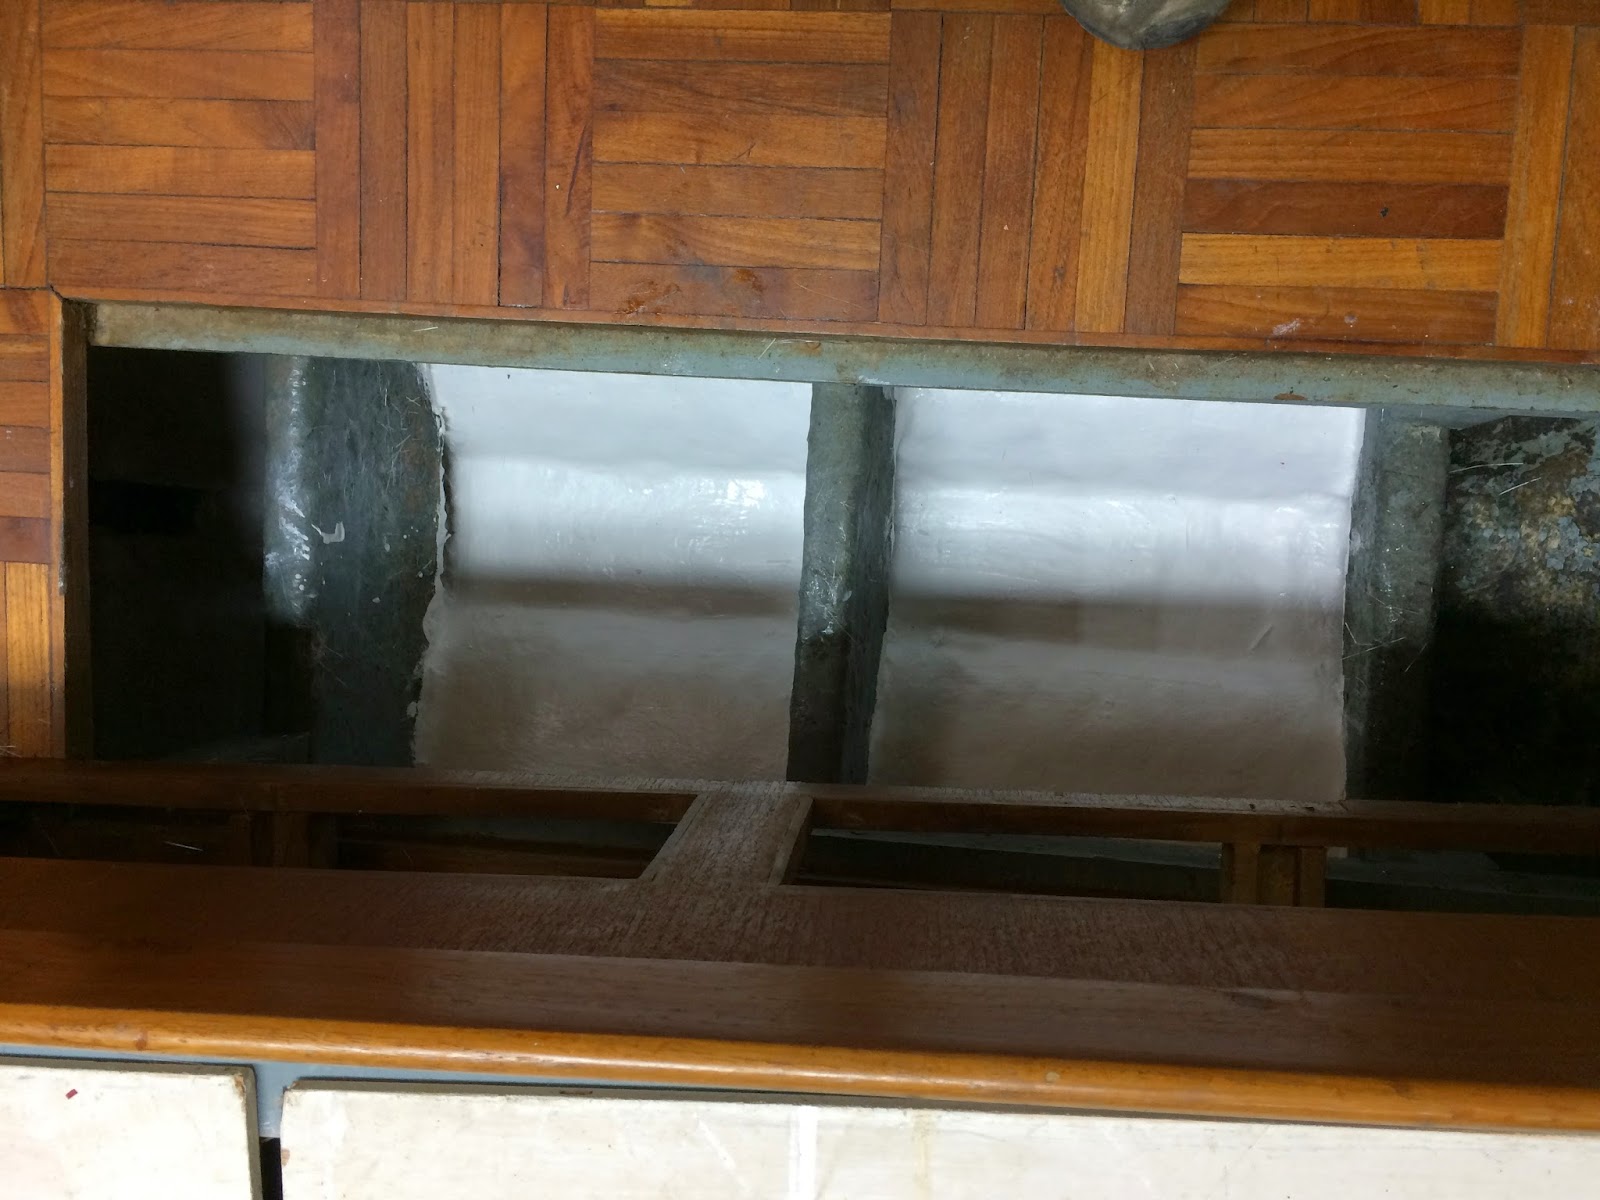
Here is a view if the swap just behind the holding tank before it was removed. Water enters through the leaky windows, collects in the bilge and exits through the crack in the hull. I will have to remove the engine, batteries, gray water tank, holding tank, and then remove all the loose material from the bilge, to get down to the good concrete.
The plan then is to take the concrete that did not set up down a couple inches, clean out all the black muck, sand and prep the surfaces for a new layer of good quality concrete and then re seal the bilge with good quality epoxy that will bond to the sanded sides of the hull. Quite a project!

Everything is this picture will have to be moved to get to the bottom of the keel for repair.
The concrete in the keel was a very cheap mortar mixed with gravel and medium sized river stones. It was also filled too high above the natural curve of the hull and never smoothed out before the resin was poured. My guess is that the bottom of the bilge failed in the first few years. Now you know why there is water in the keel. If you have odor problems in your boat, this may be the source. Wood tea from rotting plywood around the leaky windows running down into a swampy keel. More pics to follow.

Here is a pic after the engine was removed. The engine drip pan is too large to remove so this is the first time in 35 years it will come out. This design leaves no way to clean or service the bilge below the pan.

Here is the result of this design. The fiberglass mat may not of ever attached to the hull. Any water, diesel, oil going into the bilge, also went into the keel.

This whole strip came out in one piece from under the engine. It never stuck in the first place. Very poor workmanship. This error is what in the end was the biggest problem of the whole restoration. The odor from this festering muck could not have been fixed any other way. Not an easy fix. but doable.

This water/oil etc intrusion into the keel disintegrated the top 4 inches of the concrete which was just really dirt and muck. I sucked most of it our with the shop vac. I could have used a small shovel and bucket. There were 4, 5 gallon loads removed.

This is the last board of the battery box/gray water sump. I had to remove it to get to the keel area underneath. Again the design gave no access and over the years the very thin layer of fiberglass cracked off the hull and allowed water, etc to enter the keel and destroy the concrete. This will all have to be replaced.

This is the end of the engine stringers. they are encased in fiberglass. I am curious what is underneath? Do I dare look? Another big project? hmmmmm.....

Preparing for the new concrete, I removed all the lose material, then used a air chisel to get to good concrete. I had to remove all the concrete forward of the battery box. I mixed up some epoxy to seal the area before pouring the new material.

I have never mixed concrete in a boat before!

Here is the fresh concrete, time for a hand print!

Now back to the stringers. It turned out that with a close inspection the fiberglass mat laid on the stringers was breached allowing water to get into the outer stringer. After I removed the old mat and the outer stringer board, I was glad I did. the board was made of mahogany and was not too bad, it could have been glassed over again, but good for 30 years? not really, time to replace it.
By the way, why is there a outer stringer board? The big stringer is encased in glass then an outer board was added, tacked on with nails to the inner stringer after the mat had set up. Then glassed with mat. Was this a mistake, was the stringer not wide enough for the engine mounts. did they just add the inner stringer board to make the structure wider?

You can see the water line, 5 inches up the stringer! The board was cracked and moderately rotted. Above the water line it was fine.

The engine mount studs are too close to the edge to support the motor mount with out the inner board added. Why not just use a wider stringer? Mistake, intentional? I dont know.

When I pulled the second board off, I saw this! This was a mistake!

The stud was placed too close to the edge and missed the inner stringer. It was installed in between the two stringers. There is no sign of movement and it lasted for 35 years, but only 1500 hours of running time.

Ill have to cut it out. Drill out a much larger hole, fill the whole with epoxy then re install the stud in the correct place. Where ever that is! lol

I left the rear engine pad in place, It was solid. I used paint stripper to prep for gelcoat.
Now to cut out the new boards and glass them in place.

Almost finished with the prep work. I cant wait to finish this section!

New Stringer sister is 3/4 Douglas Fir marine grade ply. The original mahogany was 1' sawn lumber.

Boards fitted ready to glass in

I wetted out the bilge than put 6 oz cloth as it is very flexable and will help smooth out the rough surface. Next comes 3 layers of chopped strand mat, then 2 coats of gel coat. 5 layers in all.

After the chopped mat

Taped and ready for gelcoat

Looks a little better now than after the engine was removed!

On to the next part! Yes I have to crawl into this tunnel and repeat the process in a limited space. you can see concrete splashed onto the walls of the bilge. I think this is from when they poured the concrete to fill the keel. As none is on the underside of the sole, I think the keel was filled soon after the hull was popped out of the mold. Again great materials, not so great workmanship. The sole stringers are 2x2 mahogany lumber, in perfect shape.

Hi Luke, I am your father...
Here is how I approached re glassing the bilge from amidship to the bow. This is all in a tunnel about 16' long. For safety, I used a hole I had cut into the storage locker under the Vee Berth placing a fan there to pull fresh air through the tunnel so fumes were pulled away from the application site. Not a pretty hole, but hopefully a bow thruster will go there one day. (this is a after shot)

First I prepped the entire surface to be glassed by sanding down to good glass and cleaning with acetone and paint stripper. I do not have pics of this but it was very hard work. I used a multi tool with blades, diamond grit, and sanding pads, I used a 5' variable sander and a lot of ibuprofen. Then vacuum and acetone the entire area. I could not get this area as smooth and flat as under the engine section because the builder did not spend much effort "finishing" this unseen area. Also I could not smooth the concrete well once poured into the tunnel.

I decided to lay the cloth in 3' sections. First I took a section to the bow end of the tunnel with scissors trimmed the chopped strand mat to size. I crawled out and made two more just like it. Then cut and fold the mat like in the picture above. I did this three more times going aft so I had 12 custom fitted sections. Three layers, four sections.
This will allow me to wet out a one foot area, position the cloth, make adjustments, wet out the topside of the cloth. Then wet out the next area and unfold and repeat. Once the first section was layed up, I did the next area aft until I was out of the tunnel. I let each layer dry until tacky so I could crawl back in for the next layer. Vinyl ester resin remains tacky for several days until you add wax to the last layer, this shuts off the oxygen and allows all the layers to fully cure. It is designed for lamination.

The picture below was taken when finishing the first layer.

This is what it looked like after the third layer was complete. I used a roller to get all the air bubbles out when I could. Due to the rough surface and the limited work space there were some bubbles found which had to be cut open with the multi tool. I made sure to get resin into these areas while completing the next layer. I did this each for each layer.


The next step was to apply an un-waxed coat of gel coat, then a waxed layer. Here is what it looked like. Each layer made small bumps into larger ones. I don't like this but could not seem to get a smooth finish. With 5 layers, the goal of keeping bilge water out of the keel should be accomplished. The original glass never stuck to the hull causing the problem. Poor or no preparation. I got good adhesion. We will see how durable in 5- 10 years, I hope much more!

View looking forward to bow

View looking aft to engine bulkhead.
Before
Before

After

Next I completed the section from the engine box to the tunnel. Easy open work after the cramped tunnel.
The last part was to do from the engine box aft. This work was difficult due to lack of access. I had to work thru the hatches in the aft cabin sole. Again prep the surface, three layers of CSM, then gelcoat.


Guess what, FINISHED glassing the bilge. Last chapter to "Water in the Keel" is to patch the ice crack in the hull.
Spot on with this write-up, I really suppose this website wants much more consideration. I’ll probably be once more to read far more, thanks for that info. online casinos
ReplyDelete